Why Are Kitchen Cabinets Sticky After Cleaning?
By Mess Fixers
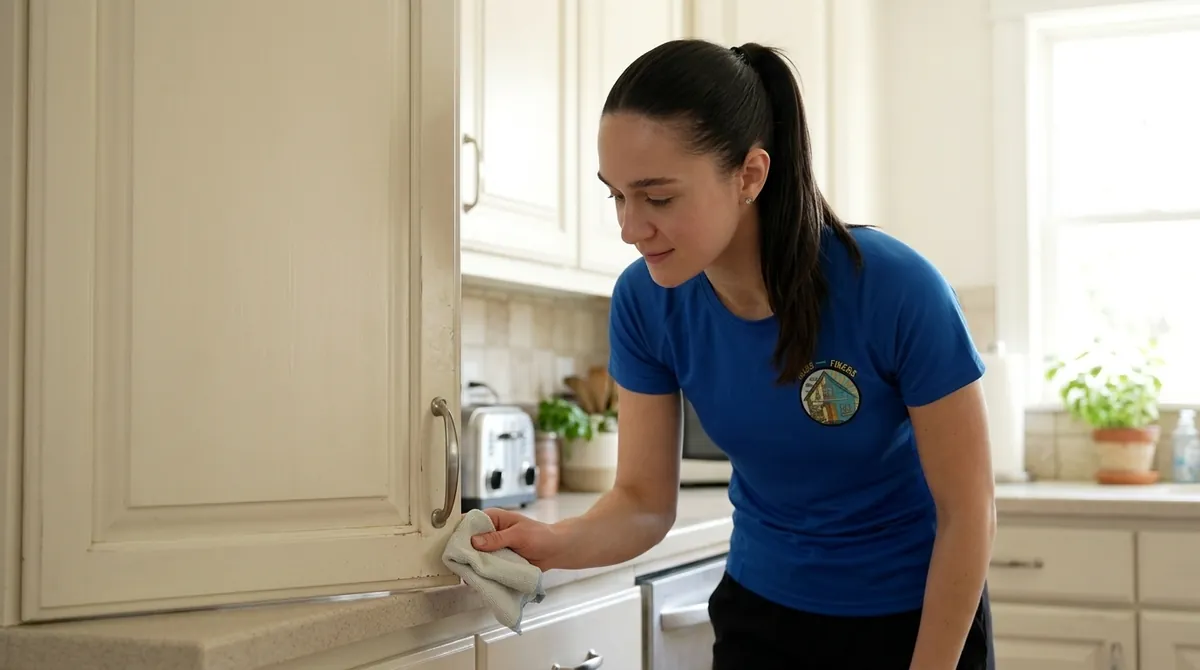
Kitchen cabinets can stay sticky after cleaning if grease remains on the surface or you leave cleaning-product residue behind. A recently painted or damaged finish can also need care that ordinary wiping cannot provide. Check what you used and the cabinet maker's instructions before trying again. On a finish that permits it, test one small area with the approved mild cleaner, rinse with a clean damp cloth, and dry it. Stop if the finish changes color, dulls, or softens.
Check What Changed After Cleaning
Compare the sticky area with a nearby area you did not clean. Note the product, any dilution required on its label, the cloth you used, and whether you rinsed and dried the door. Check whether the cabinets were painted or refinished recently. Those details help the cabinet maker or painter advise you without guessing from the word sticky.
- Residue near the stove, handles, or cabinet tops: Cooking oil and dust can form a tacky layer. Family Handyman describes oil residue catching airborne dirt; one wipe may leave some of that material in place.
- Film across the area you just wiped: Check whether the cleaner required rinsing. IKEA's cabinet-care guide calls for a second clean cloth to remove detergent residue, followed by a dry cloth. The pattern alone cannot identify the residue.
- Fresh paint or a surface that marks during wiping: Stop and check the paint's cure and cleaning instructions. A dry-to-the-touch finish may still need curing time.
- Changes in color, sheen, or texture: Treat them as reasons to stop. They do not establish whether the cleaner, wear, or another condition caused the change.
A photograph and the product label can help you describe the problem. Touch and appearance alone cannot distinguish every residue from finish damage. Persistent tackiness after a permitted cleaning pass needs the cabinet maker's or painter's advice.
Identify the Finish Before Choosing a Cleaner
Find the cabinet brand or care sheet and, for painted cabinets, the paint product and application date. Painted wood, stained wood, laminate, and film-faced doors do not share one universal cleaning method. If you cannot identify the finish, ask the maker or installer before using a degreaser, solvent, or abrasive tool.
IKEA's kitchen-care guide recommends soft, lint-free cloths and mild cleaning methods for its cabinets. It warns against ammonia-containing products and abrasive or powdered cleaners. Sherwin-Williams advises a nonabrasive cleaner on painted surfaces and says to avoid ammoniated products on waterborne paint. Those are useful limits for the finishes the manufacturers describe; follow the instructions for your own cabinet or coating.
Test One Area Before Recleaning the Kitchen
- Stop adding new products. Read the directions for the cabinet finish and the cleaner you have already used.
- Use a fresh, soft cloth. IKEA cautions that a used dishcloth or sponge can carry residues and chemicals from other cleaning.
- Choose a small, inconspicuous area of the same finish. Remove loose dust without scrubbing.
- If the finish maker permits a mild cleaner, apply it to the cloth as directed and wipe the test area with light pressure. Keep excess moisture away from seams and edges.
- Rinse with a separate clean, damp cloth where the care instructions require it. Dry with a third soft cloth.
- Check the dried area before continuing. Stop if it loses color, changes sheen, feels softer, or leaves finish on the cloth.
If the test area improves without a finish change, repeat that approved process in small sections, replacing dirty cloths as needed. Clean handles and door edges without soaking the joints, and dry each section. If tackiness remains, stop before escalating to a stronger chemical or rougher pad. Continued stickiness does not prove that more grease remains.
Give Newly Painted Cabinets Their Cure Time
Benjamin Moore distinguishes dry paint from cured paint: its cabinet-care guidance says cabinet paint can feel dry within hours yet take about 30 days to cure. It advises waiting until the paint has cured before cleaning, with 30 days as its minimum general guidance. Use the specific paint product's instructions and ask the painter if you do not know when cleaning can begin.
During cleaning, Benjamin Moore advises dabbing rather than scrubbing. It warns against abrasive sponges and scouring pads, along with bleach, ammonia, and alcohol on the painted surfaces it discusses. Sherwin-Williams also recommends testing the cleaner first and keeping it from drying on the surface. Skip a product or pad that conflicts with the finish-care guide, even if a general cleaning article recommends it.
Limit Moisture Around Cabinet Edges
IKEA warns that excess moisture can damage wood and wood finishes. Wring out cleaning cloths, remove detergent residue with controlled moisture, and dry the surface after cleaning. Wipe splashes around the sink and do not hang wet towels over cabinet doors. Keep steam-producing countertop appliances from directing repeated steam against overhead cabinets.
Swelling, lifting edges, peeling film, or water marks require a pause and advice from the cabinet maker. Do not infer the panel material from the damage or keep wetting the area to see whether it improves. Cleaning cannot restore a failed finish or repair a swollen panel.
Separate Cabinet-Front Cleaning from Interior Work
Mess Fixers' Standard Clean includes spot cleaning fresh drips on cabinet fronts and handle care. Deep Clean includes top-to-bottom cabinet-front washing, door edges, handles, toe kicks, and accessible upper cabinet tops, using methods suited to the material and condition. Tell the team about recent paint, sensitive finishes, previous products, and areas that should remain untouched.
Cabinet interiors need their own agreed scope and are outside the Deep Clean base checklist when occupied. Ask which interior work is available with the service you are selecting rather than assuming contents handling is included. Cleaning can remove suitable surface residue, but it does not promise refinishing or repair.
Use the successful small-area test as the method for the rest of the sound finish. If the test fails or the material remains uncertain, keep the cabinet dry and get the manufacturer's next step before cleaning again.