How to Clean Grout Without Damaging Nearby Surfaces
By Mess Fixers
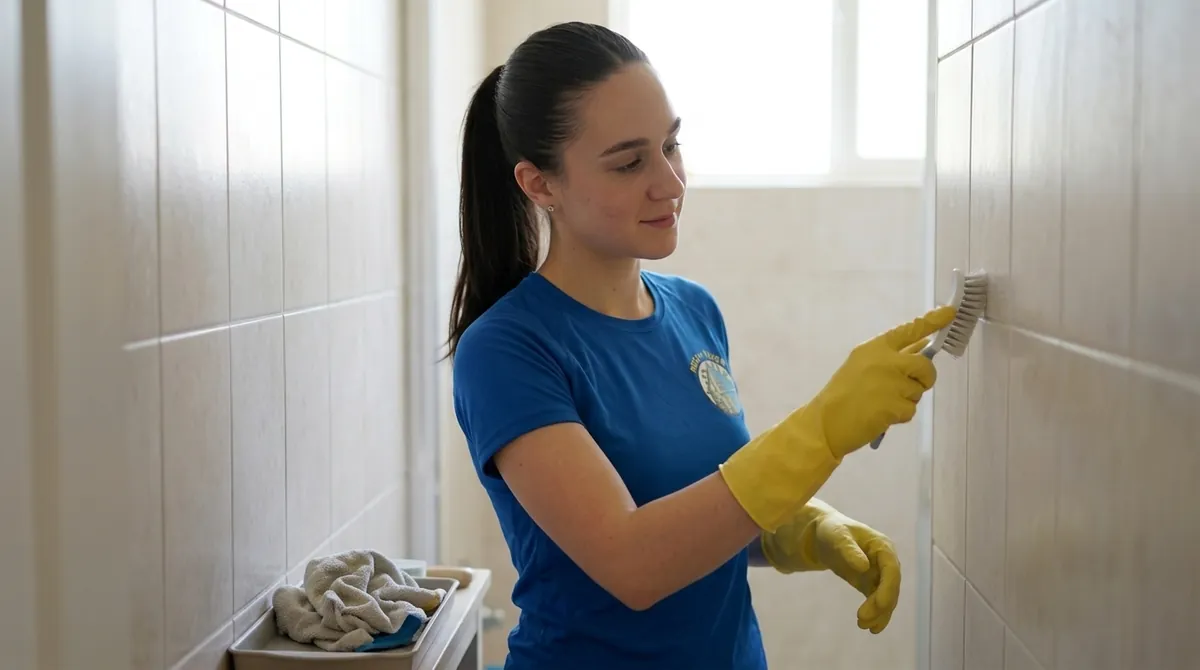
To clean grout, remove loose dirt, test a cleaner compatible with both the joint and surrounding tile, then follow its contact time, scrub gently, rinse, and collect the dirty water. For routine care of its cement grout, LATICRETE recommends a pH-neutral cleaner; grease may need a compatible alkaline cleaner. Avoid acids as a default: they can attack cement grout and acid-sensitive stone.
Identify More Than the Tile Color
Check installation records or ask the installer whether the grout is cement-based, epoxy, or another type. Also confirm the surrounding tile or stone and whether the joint has a sealer, colorant, or stain coating. Appearance alone cannot establish cleaner compatibility.
Use these decisions before opening a product:
- Known cement grout beside compatible tile: follow the grout maker's care instructions. LATICRETE recommends a pH-neutral cleaner for routine cement-grout maintenance and an alkaline cleaner for grease soil in its care sheet.
- Natural stone: check the stone-care instructions as well as the grout instructions. LATICRETE warns against acid-based products on polished marble and other acid-sensitive stones.
- Epoxy or another non-cement grout: use that grout manufacturer's care directions. Advice about cement grout does not establish what your joint tolerates.
- Color-coated grout: confirm compatibility before scrubbing. Custom Building Products warns that its Grout Deep Clean may adversely affect joints coated with a colorant or grout stain; do not assume a grout cleaner is harmless to such coatings.
- Unknown or damaged materials: pause and identify them before choosing chemistry or stronger tools.
Keep the cleaner off any adjacent fixture, trim, or coating the label does not permit. A product that works on the joint may still damage the material beside it.
Set Out Tools and Read the Label
Gather a vacuum or broom for loose debris, clean cloths, a nylon grout brush or suitable white non-abrasive pad, clean rinse water, and a way to collect dirty water. Choose a product whose label permits both the grout and the surrounding surface. Follow its ventilation and protective-equipment directions.
Use one product as directed. Do not combine cleaners or follow an internet acid-and-alkali recipe. If a surface already has another cleaning product on it, follow that product's removal instructions before choosing the next method. Avoid making a stronger mixture to shorten the work.
Clean a Small Area First
- Remove loose soil. Sweep, vacuum, or wipe away grit before wet work so you can focus on the joint.
- Make a hidden test. Apply the permitted product in an inconspicuous area using its labeled method. Complete any rinse step and let the area dry before inspecting it.
- Check the result. Stop if the tile loses shine, a coating changes color, or grout material comes loose. Continue only if the test leaves the materials unchanged.
- Treat a manageable section. Apply the cleaner to the selected joints and allow the contact time the label specifies. Follow any instructions to dampen the joints first.
- Agitate with suitable tools. Use a nylon brush or permitted pad with controlled pressure. Let the product and contact time help loosen buildup rather than forcing a hard brush into a weak joint.
- Rinse and collect the residue. Remove loosened soil and cleaner with clean water as directed. Wipe up dirty water, or use equipment designed for wet pickup if appropriate. Do not use an ordinary dry household vacuum for liquid.
- Let the section dry. Inspect the dry result before treating the rest of the area or attempting another pass.
Remove Dirty Water Instead of Spreading It
LATICRETE notes that damp mopping can deposit dirt residue in grout joints. If the tile looks cleaner but the lines remain soiled, a joint-focused pass may help more than repeating the same mop pass with dirty water.
Use clean rinse water and collect the residue while you work. Leave the surface dry enough to inspect after the remaining moisture evaporates. A wet joint can look different from a dry one, so compare results under the same dry conditions.
Stop When the Joint or Finish Changes
Stop if grout crumbles, a joint loosens, the tile becomes dull, or a color coating starts to lift. Missing grout and damaged finishes require a repair decision. Cleaning cannot fill the joint or restore an etched surface.
A dark line that remains after a compatible cleaning attempt does not establish its cause. It may need material-specific assessment rather than another product. Likewise, discoloration alone cannot tell you whether you are looking at soil, staining, or growth.
Recurring Growth and Water Problems Need Assessment
If visible growth returns, you find a leak, or you suspect a problem behind failing caulk, arrange an appropriate assessment rather than applying stronger cleaner. Hidden mold, contaminated-water cleanup, and remediation need specialist help; a grout-cleaning visit cannot investigate behind the surface or repair a leak.
Sealing Is a Separate Decision
Check the grout manufacturer's instructions before planning to seal after cleaning. LATICRETE says its PERMACOLOR Select grout does not require sealing and describes resealing other suitable grout only if appropriate once it is clean and dry. That is a product-specific distinction, not permission to seal every joint.
Ask the installer or manufacturer what the joint needs. Sealer cannot replace missing grout, repair failing caulk, or establish that a remaining stain has gone.
Match a Mess Fixers Booking to the Area
Mess Fixers' Standard Clean includes spot care for visible surface buildup on grout. Deep Clean adds detailed hand-scrubbing of suitable bathroom grout lines and uses steam only where the material and condition allow it.
The separate Grout Spot Detail add-on covers one identified additional problem area beyond the included Deep work. It does not establish whole-floor coverage or a promise to restore the original color. Show the exact area, identify the tile and grout if you can, and disclose any coating or previous cleaner before booking. Failing grout, permanent discoloration, and problems beneath caulk remain outside the cleaning result.