Bathroom Cleaning Supplies: Build a Small, Compatible Kit
By Mess Fixers
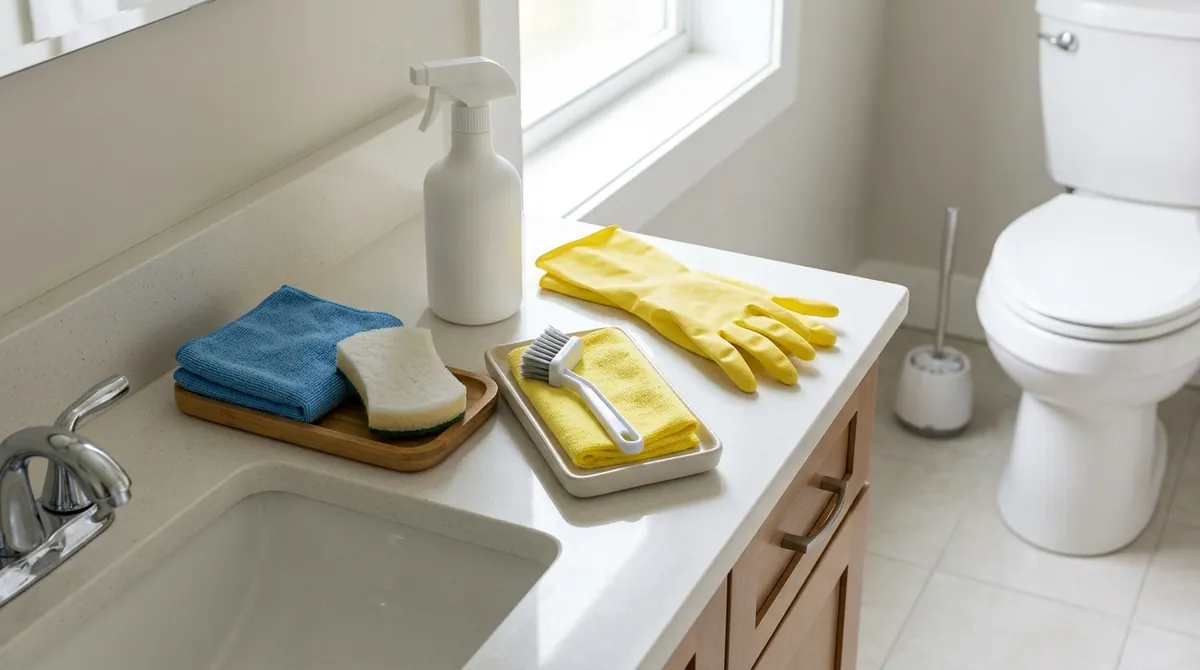
Build your bathroom cleaning kit around the surfaces you have: a soft cloth or sponge, a dedicated toilet brush, a suitable detail brush, a floor tool, gloves, and cleaners labeled for the tub, vanity, glass, and toilet. Add a disinfectant only for a specific need. Check each product against the surface maker's care instructions before using it.
Start with the Tools You Will Use
- Soft cloths or nonabrasive sponges: Use separate ones for the toilet exterior, sink and vanity, and tub or shower. Reserve a clean cloth for mirrors.
- Dedicated toilet brush: Choose one that reaches beneath the rim. Keep it and its holder apart from tools for other surfaces.
- Compatible detail brush: Choose bristles the tile, grout, or track manufacturer allows. A stiff brush that works on one surface can scratch another.
- Squeegee: Use it on suitable shower glass to remove water after use, following the enclosure's care instructions.
- Vacuum attachment or dry floor tool and a mop: Remove hair and loose dirt before wet floor cleaning. Match the mop and cleaner to the floor.
- Gloves: Follow the product label for the required protection. Add eye protection if the directions call for it.
Store clean, dry tools where you can keep them apart and out of children's reach. Do not return a toilet cloth to the sink or mirror portion of the job. Replace a dirty cloth during the session rather than wiping more surfaces with the same residue.
Choose Cleaners by Surface and Residue
Start with a nonabrasive cleaner labeled for the vanity and other compatible hard surfaces. You may also need a tub-and-tile cleaner for soap film, a glass product for the mirror, and a toilet-bowl cleaner. One product can cover several jobs if its label and the surface-care instructions permit each use; you do not need a separate bottle for every fixture.
Use toilet-bowl cleaner only inside the bowl as its label directs. Keep it off the seat, hinges, vanity, floor, and metal fittings. Do not add another bowl product on top of an existing cleaner.
A mineral-deposit remover is an optional problem-specific product. Check both the residue named on the label and the material it may touch. Do not assume a product suitable for one tile or fixture finish can treat the whole shower. ACI notes that bleach products can intensify rust stains, so a bleach cleaner is not a substitute for a compatible rust-removal product.
EPA's Safer Choice program lists certified all-purpose and tub-and-tile cleaners. It can help you find products with ingredients reviewed through that program. The label still needs to name the task and surface you intend to clean. Safer Choice certification alone does not establish that a cleaner disinfects.
Read These Label Details Before Buying
- Use site and surface: Check whether the product covers your tub material, tile, countertop, metal finish, or glass.
- Task: Distinguish cleaning dirt or soap film from sanitizing or disinfecting.
- Application and removal: Read how to apply it, whether rinsing is required, and whether nearby surfaces need protection.
- Contact time: For a disinfectant, check how long the surface must stay wet.
- Protection and ventilation: Follow glove, eye-protection, and fresh-air directions.
- Storage: Keep products in their original labeled containers, away from food and out of reach of children and pets.
Never mix cleaners or disinfectants: combining products can release dangerous vapors. That includes adding bleach to another cleaner or combining toilet-bowl products. Buy a labeled product for the job rather than following a mix-your-own recipe.
Fixture Finish Can Rule Out a Product
Read the care sheet for your actual fixture. Kohler's faucet-care guidance, for example, excludes cleaners containing ammonia, bleach, or acid from its chrome and Vibrant PVD finishes. It recommends a soft damp cloth, rinsing, and drying, and warns against letting cleaner soak on the surface. Those instructions apply to the products and finishes it names; another manufacturer's finish may have different limits.
Protect faucets, drain trim, hardware, and the vanity from overspray while cleaning an adjacent surface. Test a compatible cleaner on a concealed area as the manufacturer directs. If you cannot identify a finish or the coating is already damaged, pause and ask its maker before trying a stronger product.
Cleaning and Disinfecting Need Different Instructions
CDC describes cleaning as removing dirt, impurities, and germs with soap or detergent and scrubbing. It says routine household sanitizing or disinfecting is often unnecessary unless someone is sick or there is another reason for the extra step. Cleaning remains the first step before disinfection.
For a disinfection need, choose an EPA-registered product approved for the intended surface and use. Look for its EPA registration number and read the Directions for Use. EPA explains that the surface must remain wet for the entire stated contact time; a quick wipe that dries early does not follow that instruction. Rinse afterward if the label requires it, then wash your hands after cleaning.
A fixture-care limit still applies when choosing a disinfectant. Do not leave a product wet on a finish whose maker prohibits it. Find a compatible labeled product or ask the fixture manufacturer about an approved method.
Put the Kit to Work in a Consistent Order
Clear toiletries and towels. Remove hair and dry debris, then clean the mirror, vanity, sink, and shower or tub with their assigned tools. Rinse and dry where instructed. Use the dedicated toilet tools for the bowl and a separate cloth for its exterior, then finish the floor. Return clean, dry tools to storage and launder cloths according to their care instructions.
Separate the tools even if one cleaner can serve several surfaces. Product compatibility and tool separation answer different questions: the first protects the material, while the second keeps toilet residue off the surfaces you clean next.
Know When to Stop Buying Stronger Cleaners
Ventilate while showering and arrange repair for leaks. Report persistent dampness to the property owner or have its source assessed rather than treating it as a reason to add more chemicals.
Stop routine cleaning if you find extensive or hidden mold, contaminated water, failing grout, damaged caulk, or a finish that changes under the cleaner. Arrange the appropriate assessment or repair. A cleaning kit cannot restore a failed coating or establish what caused a dark mark beneath caulk, and this guide does not provide mold-remediation instructions.
Compare the Kit with a Hired Bathroom Clean
Mess Fixers' Standard Clean covers listed everyday bathroom surfaces. Deep Clean adds deeper work on household buildup, grout details, tracks, hardware, and accessible areas within its checklist. Neither name creates a blanket disinfection or restoration promise.
Choose Full Bath (Deep) for an additional full bathroom beyond the booked coverage that needs deeper care. Use Grout Spot Scrub for a separately identified extra grout problem area beyond the grout care already included with Deep cleaning. Material suitability still determines the method; repair, mold remediation, failing grout, and guaranteed restoration remain outside cleaning.
Describe the surfaces, removable buildup, damaged areas, and any access restriction before the visit. That gives the team a defined cleaning task without treating an unknown stain or moisture problem as something a stronger bottle must solve.